


Hi All lets go through the process of setting up Docker on your Windows device and configuring it as a Docker host.
Docker simplifies container creation and management, offering an efficient environment for running applications. Let’s begin with the detailed instructions!
Steps to Install Docker on Windows
1) Download Docker Desktop
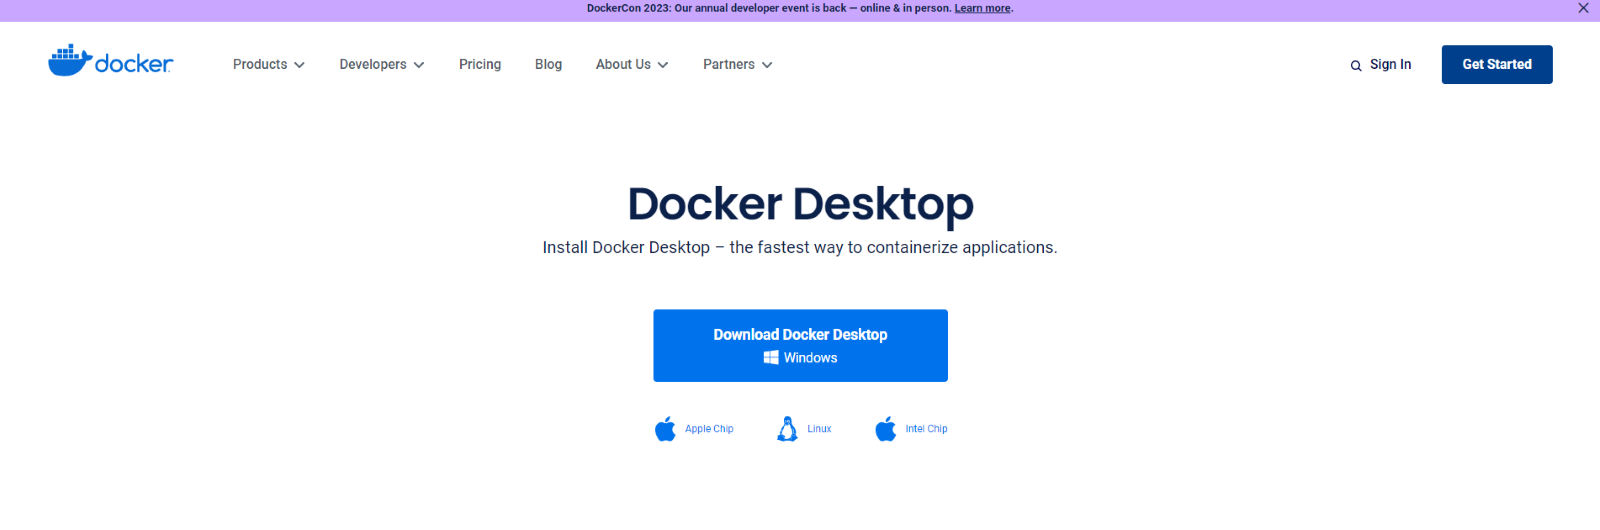
1) To get started, head over to the Docker website and download Docker Desktop for Windows. You can find the installer at docker.com/products/docker-desktop.
2) Click on the "Get Docker" button and follow the on-screen instructions to download the installer to your local machine.
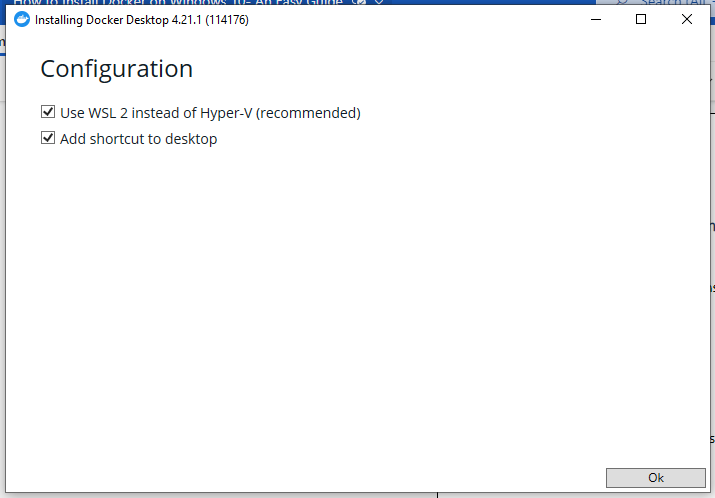
2) Run the Docker installer
Once the Docker Desktop installer is downloaded, locate the executable file and run it by double-clicking on it. The installation wizard guides you through the process.
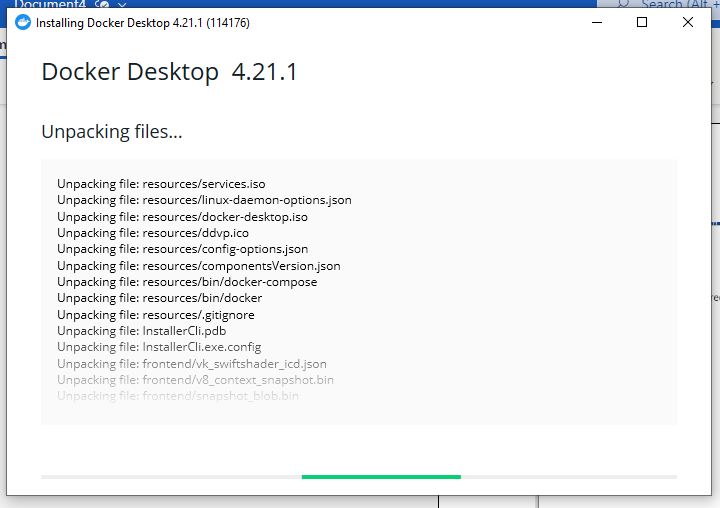
3) Install Docker Desktop
Now, the installer will proceed to install Docker Desktop with the selected components and configuration back and relax as the installation process takes place. It may take a few minutes to complete, depending on your system's specifications. Or you could open command prompt and enter the following line:
Start-Process 'Docker Desktop Installer.exe' -Wait install
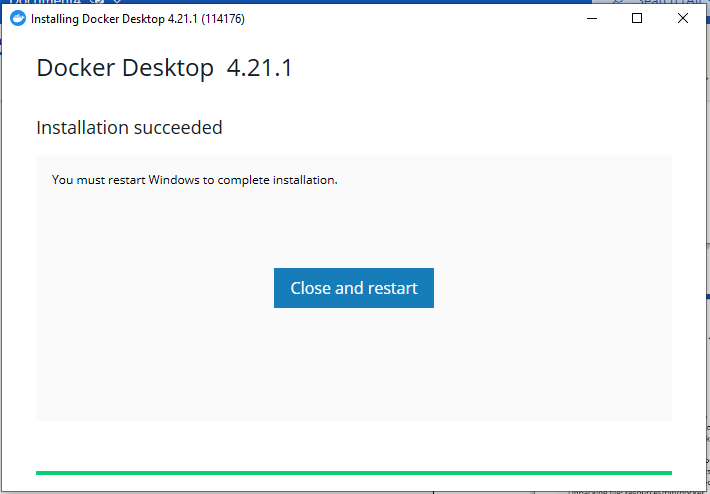
Once the installation is done, the installer will ask you to restart your system. Save all your unsaved progress before doing so.
4. Launch Docker Desktop
![]()
![]()
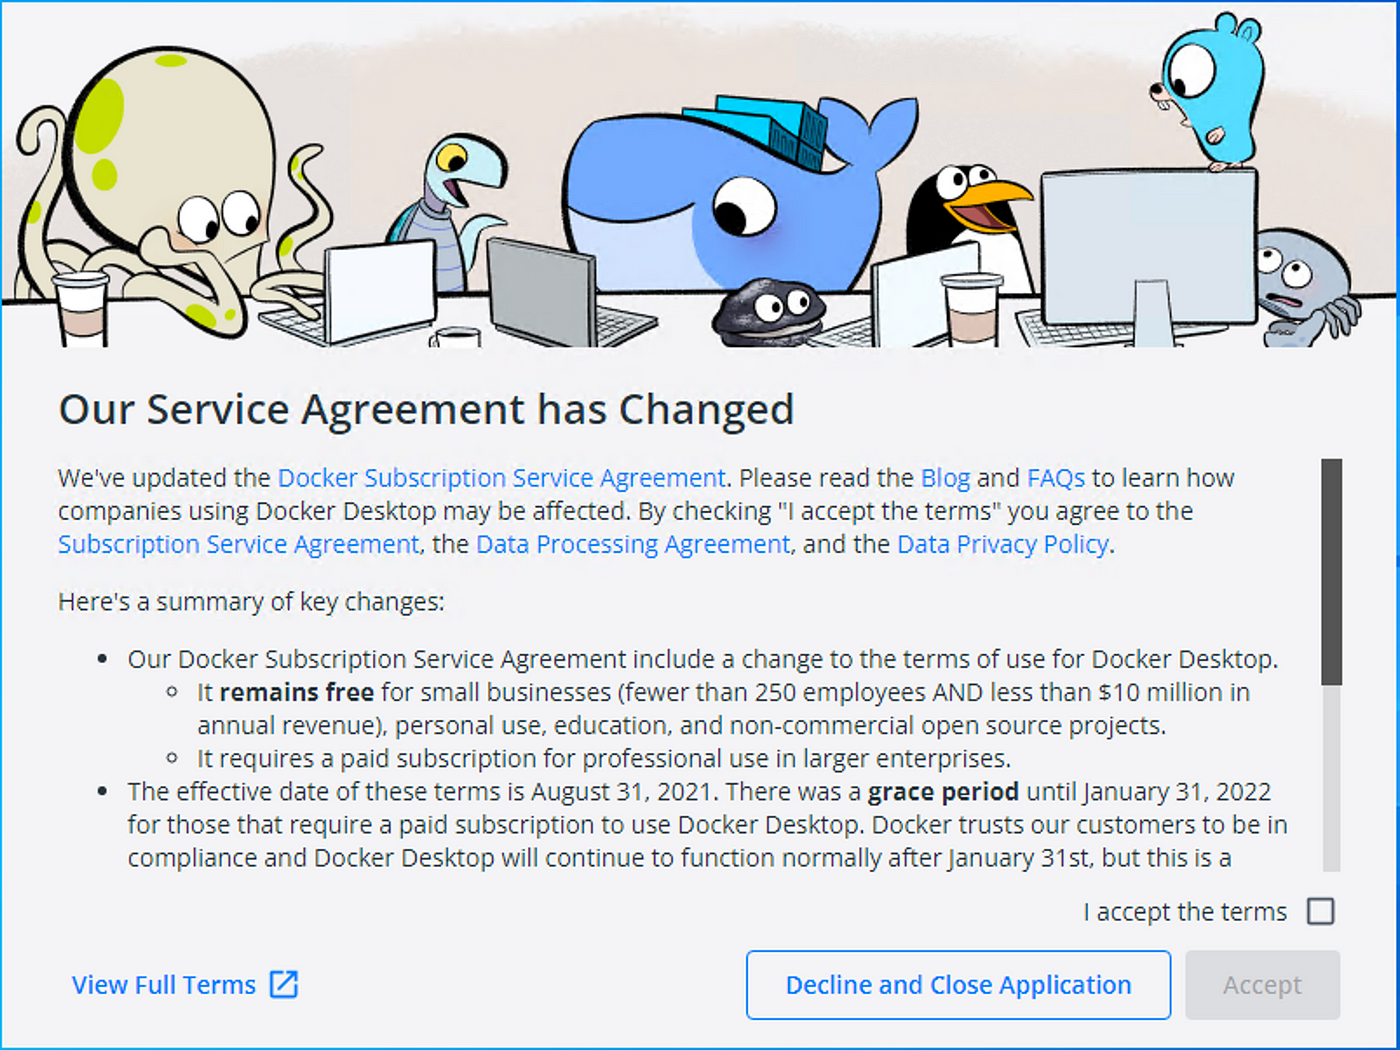
After the installation is complete and the system has been restarted, the Docker icon should appear in your system tray and the Docker Desktop should appear on the Start menu. Click the icon to launch Docker Desktop. During the first launch, Docker Desktop will perform some installation tasks, such as enabling necessary Windows features and configuring the Docker environment. You will get the user service agreement for Docker. Click on “I accept the terms” check box and click on “Accept”.
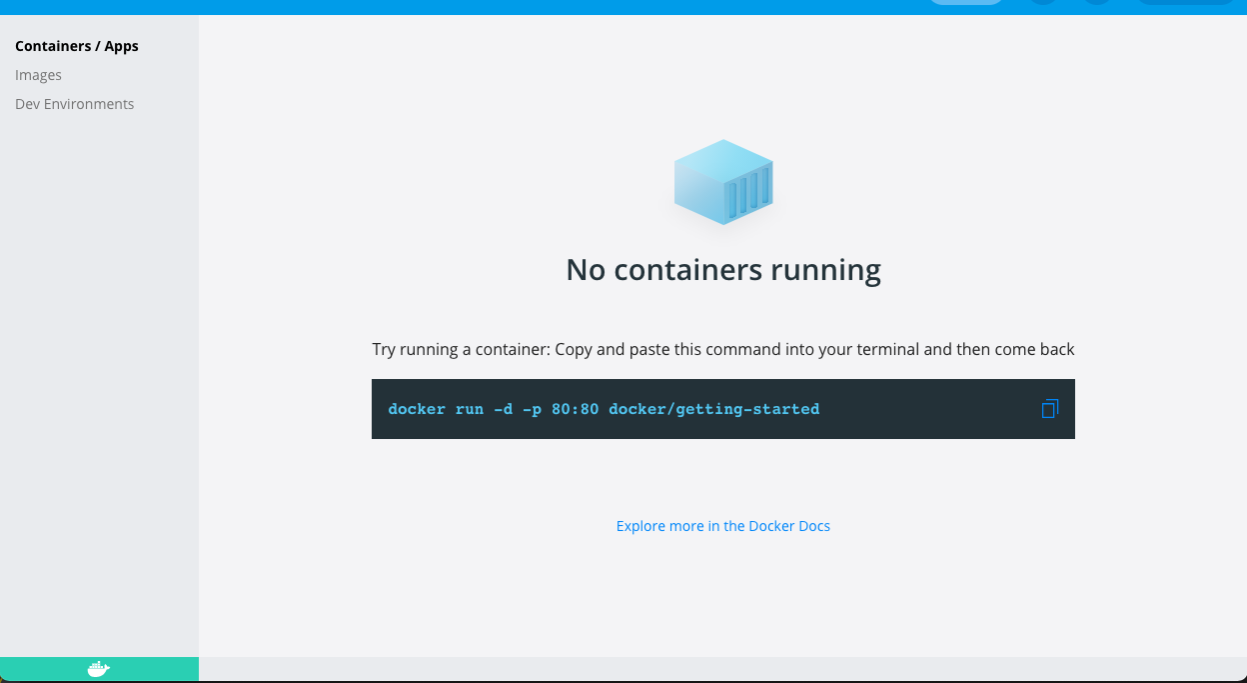
Once the installation is done, you'll see the Docker Desktop dashboard
Congratulations! Docker is now successfully installed and ready to use on your Windows 10 machine.
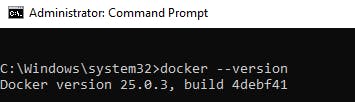
Verify Docker Installation
Confirm the correct installation of Docker by opening a Command Prompt or PowerShell window and executing the following command:
docker --version
How to install from the Command Line?
Here are the various steps you can follow to install Docket from the Command Line:
a) Step 1: To install Docker Desktop on Windows 10, 11, or later versions, various command lines are available for different interfaces.
b) Step 2: In the terminal, execute the command "start /w “” “Docker Desktop Installer.exe" install.
c) Step 3: For PowerShell, use Start-Process '.winbuildDocker Desktop Installer.exe' -Wait install. When using the Windows command prompt, the command start /w "" "Docker Desktop Installer.exe" install is appropriate.
d) Step 4: Finally, to include user accounts in the Docker user groups, particularly when the admin and user accounts differ, the command net localgroup docker-users /add is used. This step ensures that user accounts have the necessary permissions for Docker operations.
How to install and enable WSL 2 On Windows
Before beginning the Docker installation using WSL 2, ensure that your Windows system is compatible. Then, proceed to install and activate WSL2 on your device.
a) Step 1: To activate the Windows Subsystem for Linux feature, enter the following command in administrator mode: dism.exe /online /enable-feature /featurename:Microsoft-Windows-Subsystem-Linux /all /norestart
b) Step 2: Next, enable the virtual machine platform feature by executing this command in PowerShell as an administrator: dism.exe /online /enable-feature /featurename:VirtualMachinePlatform /all /norestart
c) Step 3: Following the execution of the above command, reboot your computer. This action will activate the virtual machine platform feature.
d) Step 4: Now, download and install the WSL 2 Linux kernel update package from Microsoft's official website.
e) Step 5: Set WSL 2 as the default version by running the following command in Windows PowerShell as an administrator. Then, install a Linux distribution from the Microsoft Store. You have a choice of various distributions, such as Kali Linux, Debian, and Ubuntu: wsl --set-default-version 2