


Let's explore some fundamental commands that every Linux user should know.
- To Create a empty file.
The touch command in Linux is used to create an empty file

Create Multiple Files

Adding Content to the File:
(i) The
echocommand is used to add content to the files
(ii) Using a Text Editor (e.g., vim, Nano, or emacs):
The
vimcommand opens the Vim text editor with the specified file. If the filefile1doesn't exist, Vim will create an empty file with that name. If the file already exists, Vim opens it for editing.Once you are inside Vim, you can perform various operations. Here are some basic commands:

To start inserting text, press
ito enter insert mode.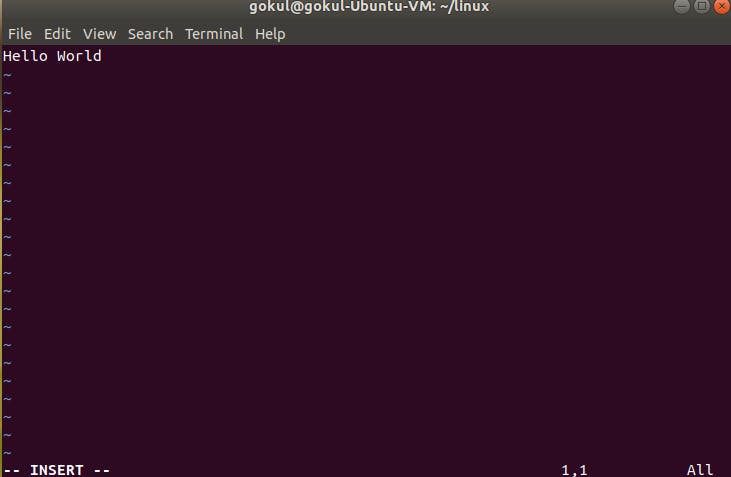
Type the desired text.

To save the changes and exit, press
Escto exit insert mode, then type:wqand pressEnter.
If you want to exit without saving changes, press
Esc, then type:q!and pressEnter.
These are just basic commands to get you started. Vim has a wide range of features and commands. If you're new to Vim, it might take some time to get used to its interface, but it's a powerful and efficient text editor once you become familiar with it.
Viewing the Contents of a File:
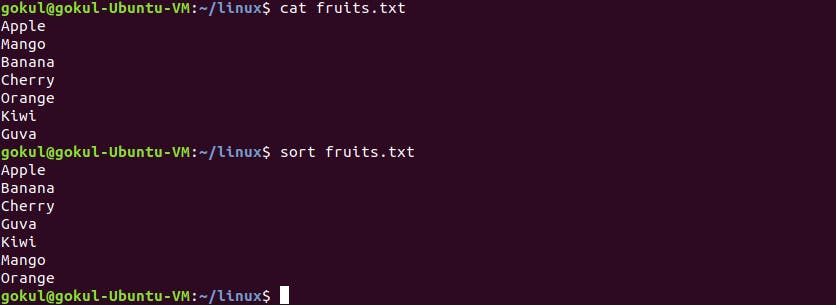
The
cat filenamecommand in Linux is used to display the content of files in the terminal.
cat -n: This adds line numbers to all lines

cat -b: This adds line numbers to non-blank lines

cat -s: This squeezes blank lines into one line

Grep: This command searches for a particular string/ word in a text file. This is similar to “Ctrl+F” but executed via a CLI

Sort: This command is used to sort the results of search either alphabetically or numerically. It also sorts files and directories.
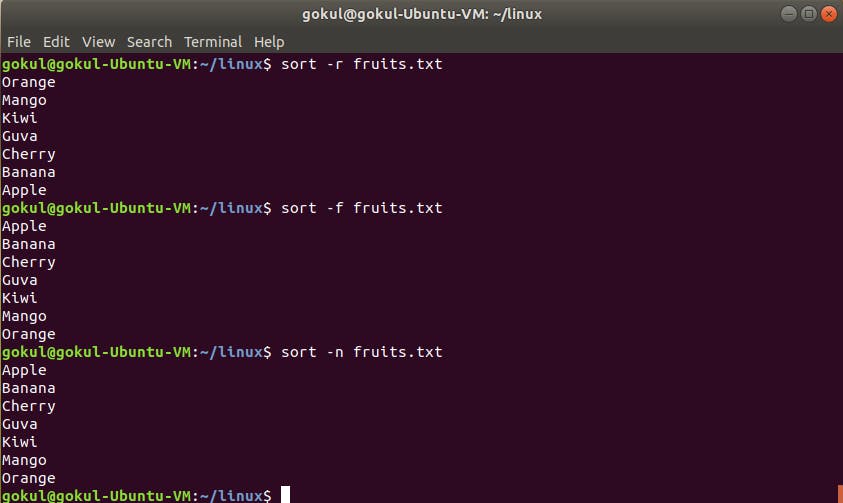
sort -r: the flag returns the results in reverse order.
sort -f: the flag does case-insensitive sorting.
sort -n: the flag returns the results as per numerical order.
- Head: This command prints the first N number of data of the given input. By default, it prints 10 lines.
We can specify the number of lines, that we want to display

Tail: This command prints the last N number of data of the given input. By default, it prints 10 lines.
We can specify the number of lines, that we want to display

diff : To identify the differences between files, use the
diffcommand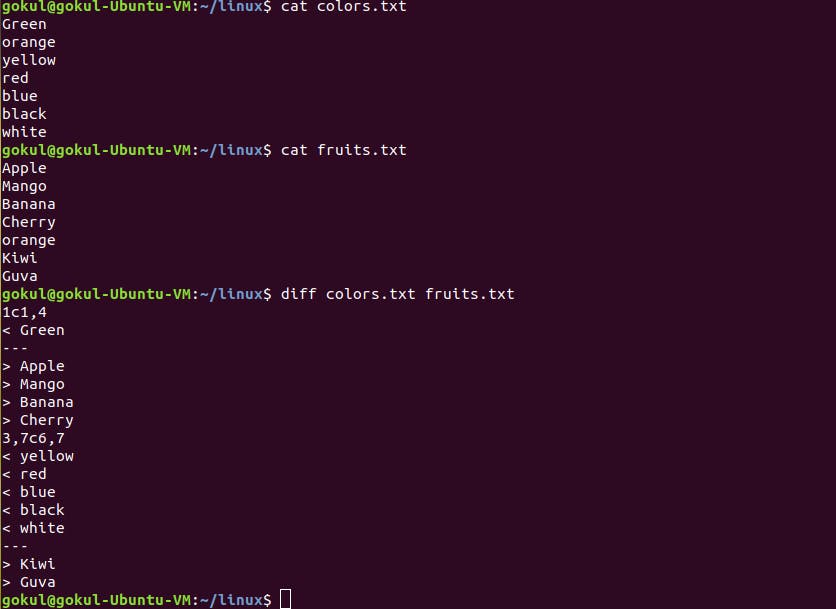
Directory/File Permissions in Linux
In Linux, each file and directory has associated permissions that control who can read, write, and execute them. These permissions are assigned to three entities: the owner of the file, the group associated with the file, and others (everyone else). Here's a breakdown of the permission system:
Read (
r):Allows the viewing of the file's content.
For directories, it allows listing the files in the directory.
Write (
w):Allows modifying the content of the file.
For directories, it allows creating, deleting, and renaming files in the directory.
Execute (
x):For regular files, it allows executing the file as a program or script.
For directories, it allows accessing the contents of the directory.
Permission Notation:
Permissions are represented using the following notation:
r: Read permissionw: Write permissionx: Execute permission-: No permission
Viewing Permissions:
To view the permissions of a file or directory, you can use the ls -l command


What are the three permission groups?
There are three options for permission groups available to you in Linux. These are
owners: these permissions will only apply to owners and will not affect other groups.
groups: you can assign a group of users specific permissions, which will only impact users within the group.
all users: these permissions will apply to all users, and as a result, they present the greatest security risk and should be assigned with caution.
Changing Permissions:
The
chmodcommand is used to change permissions. For example, to give the execute permissions on a file for all users:
chmod +rwx filename to add permissions
chmod -rwx directoryname to remove permissions.
chmod +x filename to allow executable permissions.
chmod -wx filename to take out write and executable permissions.
The command for changing directory permissions for group owners is similar, but add a “g” for group or “o” for users for example, to remove the execute permissions on a other user:

chmod g+w filename
chmod g-wx filename
chmod o+w filename
chmod o-rwx foldername
To change directory permissions for everyone, use “u” for users, “g” for group, “o” for others, and “ugo” or “a” (for all).
chmod ugo+rwx foldername to give read, write, and execute to everyone

chmod a=x filename to give only execute permission for everyone.

Changing Linux permissions in numeric code
In numeric mode, you can use a three-digit octal (base-8) number to represent file permissions in Linux. Each digit corresponds to a different entity: owner, group, and others. The permissions are represented as follows:
Read (r) is represented by 4
Write (w) is represented by 2
Execute (x) is represented by 1
No permission (-) is represented by 0
Here's the breakdown:
The first digit represents the owner's permissions.
The second digit represents the group's permissions.
The third digit represents others' permissions.
To set permissions, you add the numbers corresponding to the desired permissions. For example:
chmod 755 filenamewould give the owner read, write, and execute permissions (4+2+1 = 7), and the group and others would get read and execute permissions (4+1 = 5)
Here are some common numeric permission values:
7(read, write, and execute)6(read and write)5(read and execute)4(read only)3(write and execute)2(write only)1(execute only)0(no permissions)
These Linux commands form the foundation of your journey into the world of Linux.
- Happy learning :)